Upgrading your lighting to LED batten lights is a smart choice – saving you money on energy bills and reducing your carbon footprint, they can be used in various settings, from commercial to emergency environments. But before enjoying the benefits of your new, efficient lighting, you need to install it!
While many opt for professional installation, others are comfortable tackling the job. If you’re one of them, it’s crucial to understand how to wire LED batten lights safely. This guide provides a comprehensive overview to help you through the process.
What are LED Batten Lights?
LED batten lights are an improved version of fluorescent tube lights. The introduction of LED technology has advanced the lighting industry tremendously, offering spot-free, low-glare, uniform, energy-efficient illumination with an extended lifespan.
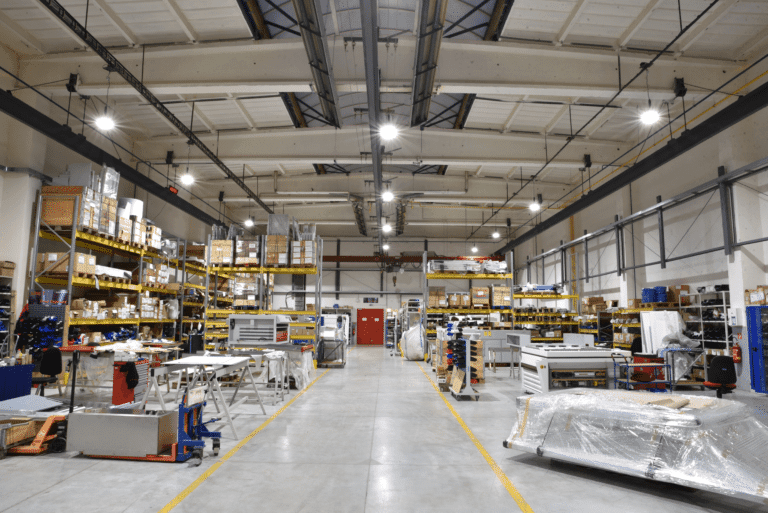
LEDs are RoHS compliant, reducing toxic gas release into the environment compared to T5 and T8 fluorescent tubes. They are available in a range of sizes (1ft to 6ft), colour temperatures, and IP ratings to suit various applications, from retail spaces and commercial buildings to industrial warehouses and residential garages.
Essential Precautions
Before you start, safety is paramount! Ignoring these precautions can cause serious injury or even death.
- Turn off the power: Always, disconnect the power supply at the circuit breaker or fuse box before beginning any electrical work. Test the circuit with a voltage tester to confirm the power is off.
- Use the Right Tools: Invest in quality wire strippers, electrical tape, wire connectors, and a voltage tester. Using the wrong tools can damage wires and create unsafe connections.
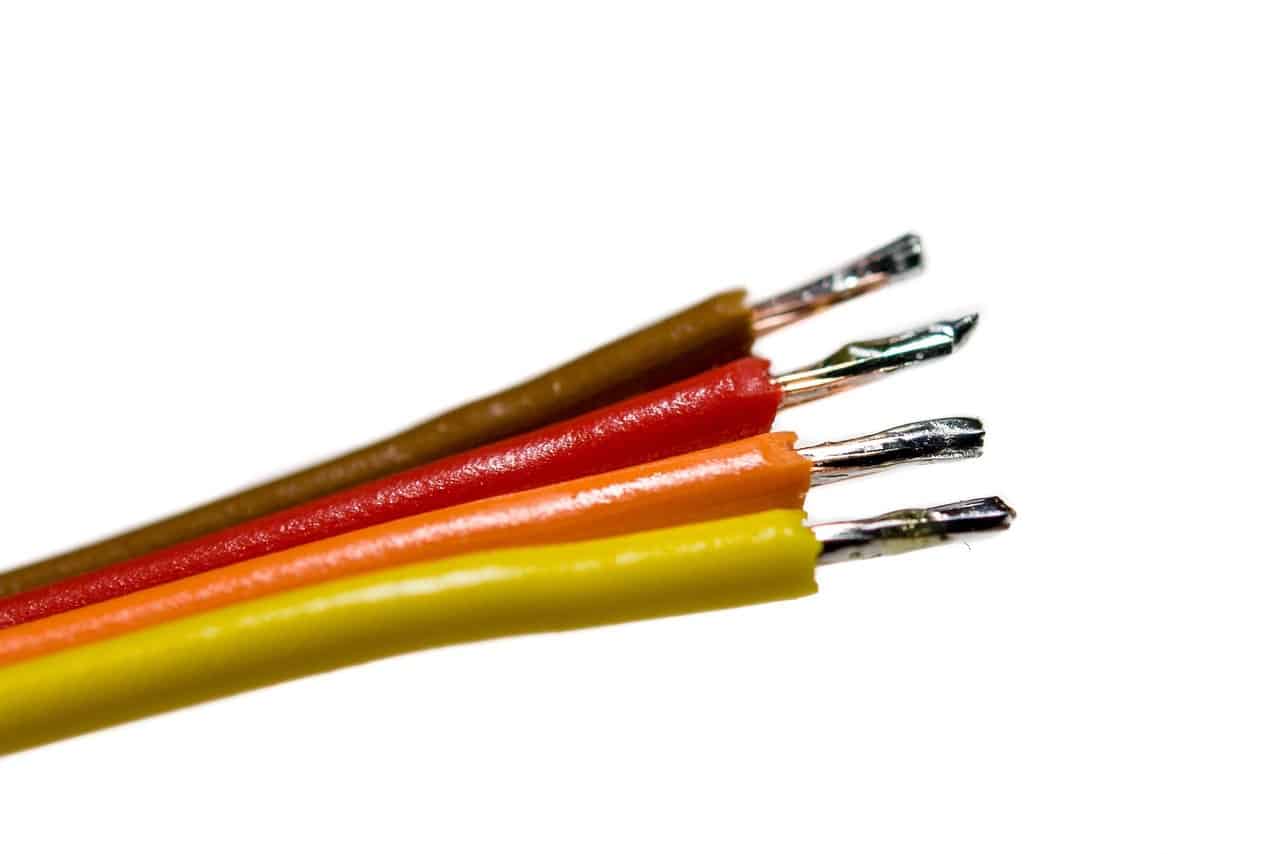
- Know Your Wires: Identify the Live (L), Neutral (N), and Earth (PE) wires. If you’re unsure, consult a qualified electrician.
- When in Doubt, Call a Professional: If you’re uncomfortable with any aspect of the wiring process, do not proceed. Contact a qualified electrician for assistance. Electrical work can be dangerous, and it’s always better to be safe than sorry.
Step-By-Step Guide to Wire LED Batten Lights
- Prepare the Wires: Using wire strippers, carefully remove 1.5-2cm of insulation from the ends of the live, neutral, and earth wires (if applicable) without damaging them.
- Identify Wiring Terminals: Locate the wiring terminals on the light. These are usually labelled L (live), N (neutral) and PE (earth).
- Connect the Wires: First, connect the live wire from the mains to the LED batten terminal, and then the neutral wire. Many LED Batten lights are double-insulated and do not require an earth connection. If your light has an earth terminal, connect this last. Ensure to use appropriate wire connectors or screws to secure the wires to the terminal and make sure no bare wire is exposed.
- Insulate Connections: To provide additional insulation and prevent shortcuts, wrap the wire connections in electrical tape or use heat shrink tubing for a more professional, durable finish.
- Mount the Batten: Follow the instructions to securely mount the LED batten to the ceiling using the provided mounting kit.
- Test Your Work: Carefully restore power to the light source and turn the light switch on to verify that it illuminates correctly. If the light does not turn on, immediately turn off the power and check all the connections. If this persists or you are unsure of your work, consult an electrician.
Choosing the Right LED Batten Light
At LED & Power, we offer a range of LED batten lights, each offering solutions to different needs:
- Single and Twin battens
- Tri-Colour battens
- Low Glare battens
- Non Corrosive battens
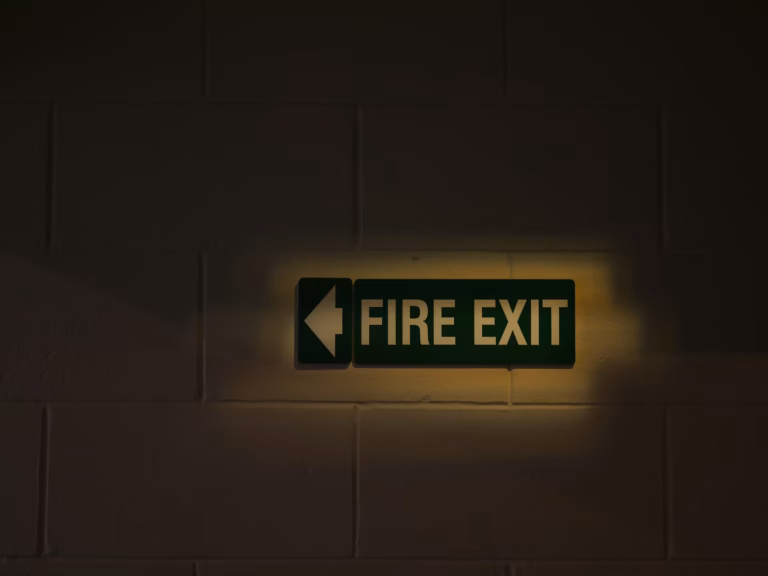
- Emergency and Sensor battens
- Low Profile and Dimmable LED Battens
To enjoy all its benefits, choosing the correct LED batten light is essential. When determining your batten lights, we at LED & Power believe you should consider several factors.
Size
LED battens are available in various sizes, but five standard lengths—1ft, 2ft, 4ft, 5ft, and 6ft—cater to different lighting needs. Choosing the right length ensures optimal light distribution in your space.
Colour Temperature
Determine the space’s primary function where the LED batten light will be installed. Warmer colour temperatures (2,700K – 3,000K) are generally more suitable for relaxation areas, while cooler temperatures (4,000K – 6,500K) are better for workspaces and areas requiring task lighting.
IP Rating
Ingress Protection (IP) ratings are crucial for determining the suitability of LED light fittings for various environments. These ratings assess how well a light fitting can withstand dust and water intrusion, ensuring reliable performance in different settings.
Why IP Ratings Matter
Choosing the correct IP rating is critical to ensuring your LED lighting performs optimally in its intended environment. For instance, lights used in outdoor settings or damp areas require higher IP ratings to prevent dust and water exposure damage.
IP Rating Scale
The First digit in an IP rating is known as dust resistance. Levels range from 0 (no protection) to 6 (dust-tight). The following number in an IP rating is the product’s water resistance; levels range from 0 (no protection) to 9 (high-pressure water jets).
When selecting LED lighting, always consider the IP rating to ensure that the fixtures meet your project’s environmental demands and provide long-lasting performance.
Wiring and LED batten lights can be straightforward if you are familiar with electrical systems. However, if you are less confident or prefer reassurance, contact a professional electrician or one of our experts for guidance and advice.