Planning to illuminate your garden, patio, or driveway? Knowing how to wire outdoor lights safely and securely is essential for a long-lasting and reliable lighting system. Whether you’re a seasoned DIYer or a beginner, this guide from LED & Power will walk you through the fundamentals. We’ll cover essential safety precautions, choosing the right cables and connectors, and step-by-step instructions for various wiring scenarios. Learn how to wire outdoor lights with confidence!
Why Proper Wiring is Crucial for Outdoor Lighting
Outdoor lighting is exposed to the elements, making proper wiring critical for safety and performance. Incorrectly wired lights can lead to:
- Electrical Hazards: Risk of electric shock or fire.
- Equipment Damage: Premature failure of lights or transformers.
- Unreliable Operation: Flickering lights or complete system failure.
Taking the time to do the job right will ensure your outdoor lighting system is safe, reliable, and beautiful for years.
Before You Begin: Essential Safety Precautions
- Always Disconnect the Power: Switch off the power to the circuit at the fuse box before beginning any wiring work.
- Use the Right Tools: Use insulated tools designed for electrical work.
- Wear Protective Gear: Wear safety glasses and gloves.
- Check for Underground Utilities: Contact your local utility company to locate any underground cables or pipes before digging.
- When in Doubt, Hire a Professional: If unsure about any part of the process, consult a qualified electrician or contact our lighting experts for advice and handy tips.
Choosing the Right Cables and Connectors
Selecting the appropriate cables and connectors is vital for a safe and reliable outdoor lighting system.
Cables
- Outdoor-Rated Cable: Use cables specifically for outdoor use. These cables are designed to withstand moisture, UV exposure, and temperature fluctuations.
- Cable Size (Gauge): Choose the correct cable gauge based on your lights’ total wattage and the cable run length. Consult an electrician or refer to a wiring chart for guidance.
- Low Voltage Cable: If you work with low-voltage lights (typically 12V or 24V), use low-voltage cables specifically designed for outdoor lighting.
Connectors
- Waterproof Connectors: Use connectors specifically designed for outdoor use to prevent moisture from entering the connections. Look for high IP rated connectors (Ingress Protection).
- Direct Burial Connectors: If burying connections, use direct burial connectors designed to be placed directly in the ground.
- Wire Connectors: Use appropriate wire connectors (e.g., wire nuts, crimp connectors) to join wires securely.
Step-by-Step Guide: How to Wire Outdoor Lights
This is a general guide. Always refer to the manufacturer’s instructions for your specific lighting fixtures and connectors.
Wiring a Single Outdoor Light to an Existing Outlet
- Turn off the power at the outlet in the fuse box.
- Run outdoor-rated cable from the outlet to the location of the light fixture.
- Mount the fixture securely in its desired location.
- Connect the Wires:
- At the outlet box, connect the black (hot) wire from the cable to the outlet black wire.
- Connect the white (neutral) wire from the cable to the white wire of the outlet.
- Connect the green or bare copper (ground) wire from the cable to the ground terminal of the outlet.
- At the light fixture, connect the wires from the cable to the corresponding wires of the fixture (black to black, white to white, ground to ground).
- Use wire connectors to secure the connections and insulate the wires.
- Use waterproof tape or sealant to further protect the connections from moisture.
- Turn the power back on at the fuse box and test the light.
Wiring Multiple Outdoor Lights in a Series
- Turn off the power to the circuit at the fuse box.
- Run outdoor-rated cable from the power source to the location of the first light fixture. Then, run cable from the first fixture to the second, and so on.
- Mount each light fixture securely in its desired location.
- Connect the Wires:
- At each light fixture, connect the wires from the incoming cable to the fixture’s wires and then to the wires of the outgoing cable (daisy-chaining). Ensure all connections are black to black, white to white, and ground to ground.
- Use wire connectors to secure the connections and insulate the wires.
- Use waterproof tape or sealant to further protect the connections from moisture.
- Turn the power back on at the fuse box and test all the lights.
Wiring Low Voltage Outdoor Lights
- Place the transformer near a GFCI-protected outlet.
- Run the low-voltage cable from the transformer to the lights.
- Connect the lights to the low-voltage cable using appropriate connectors.
- Plug the transformer into the GFCI outlet.
- Test all the lights.
Explore our Collection of Outdoor Lighting Solutions at LED & Power
For a wide selection of high-quality outdoor lighting cables, connectors, and fixtures, visit LED & Power. We offer a comprehensive range of products to help you create a safe and beautiful outdoor lighting system.
- Wall Lights: Perfect for illuminating pathways, patios, or seating areas. Many come with PIR motion sensors for energy efficiency and added security.
- Floodlights: Bright and powerful, ideal for large spaces or security purposes.
- Bollard Decking Lights: Recessed lights that enhance safety and add ambience to decks.
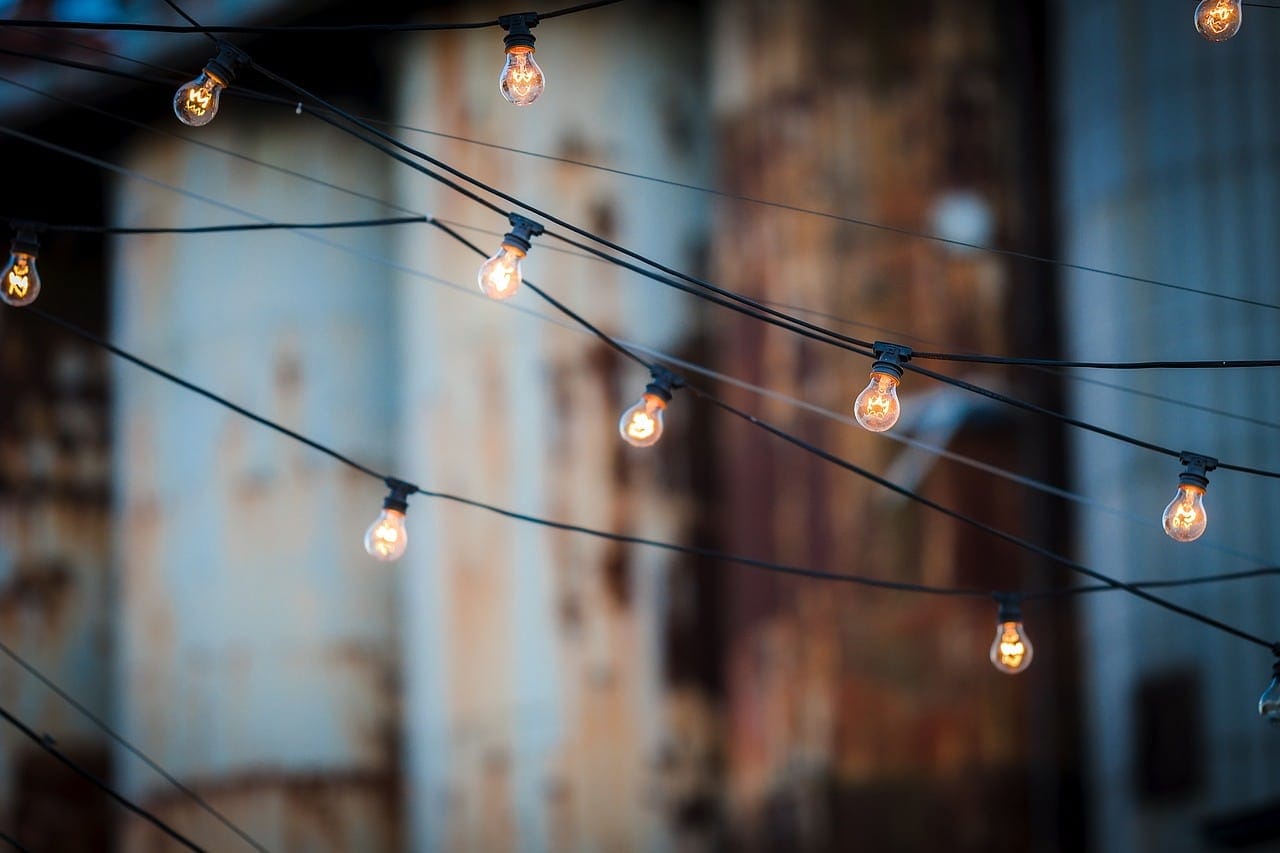
- String Festoon Lights: Decorative options for creating a festive atmosphere in gardens or patios.
- Solar Lights: Energy-efficient and wire-free solutions for eco-friendly lighting.
Final Thoughts
Knowing how to wire outdoor lights correctly is essential for a safe and reliable lighting system. By following these guidelines and taking the necessary precautions, you can confidently illuminate your outdoor space. Always prioritise safety and consult a qualified electrician if you have any doubts. Shop now at LED & Power for all your outdoor lighting needs!